
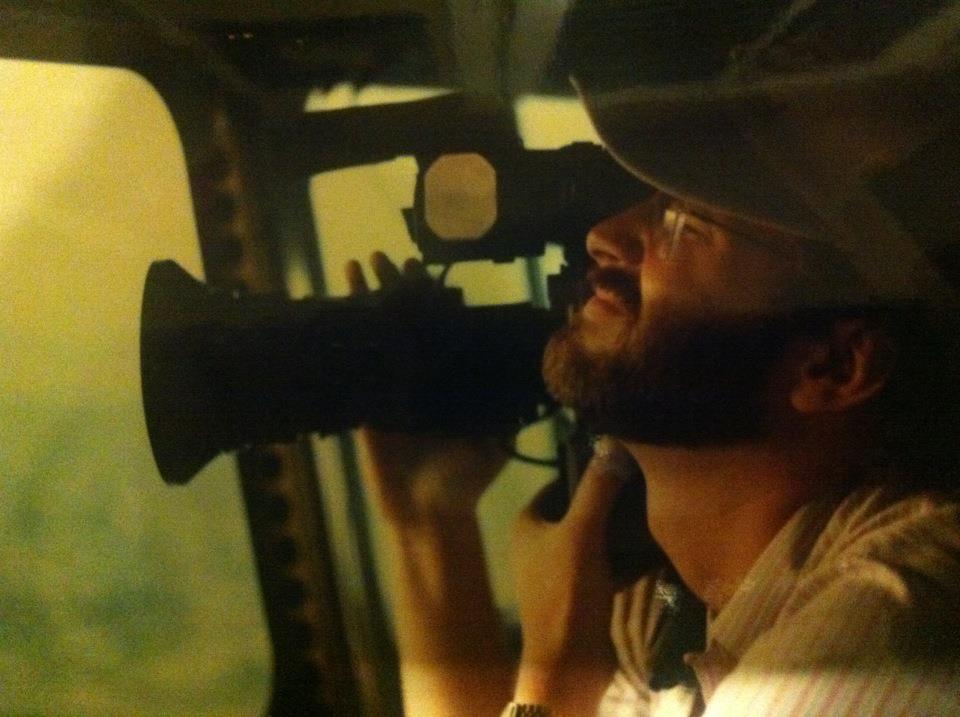
Your humble narrator, shooting video from the Goodyear Blimp America in 1985
Shooting video is not as easy as it looks, and even though most people have tried to be a videographer, few are proficient at it. If you can keep in mind these 10 basic rules, you’ll shoot video like a pro.
Tip 1: Get in close. The classic beginner mistake is to shoot a wide shot of a scene, forgetting that video is an inherently close-up medium. For instance, the beginner videographer will shoot a head-to-toe shot of a mom pushing a stroller. The professional gets in close on the baby’s face, framing the mother’s adoring face looking on in the background. Get in close, where the emotions happen.
Tip 2: Notice the background. In the heat of shooting, you’re concentrating on your subjects, which happen to be in the foreground. You’re listening to what they’re saying, and watching what they’re doing. Only when you bring the footage back for editing do you notice that distracting or unattractive background you overlooked. I’ve worked with director colleagues who seem to pay more attention to the background than the foreground, but strike a happy medium here. Find (or add) pleasing colors for a background. Don’t place your subjects close to a brick wall, looking like they’re ready for the firing squad. Watch out for trees or potted plants positioned behind your subject, which might look like they’re growing out of your video star’s head.
Tip 3: Steady as she goes. Whether you’re using a smartphone or a sophisticated video camera, find a way to mount it on a tripod, and short of that, lean against a wall to stabilize your shot.
Tip 4: Let there be light. Get as much light on the subject as possible. The more light, the better your scenes will look, so carry a battery-operated light, set up lights whenever possible, or shoot in brightly lit areas.
Tip 5: Don’t forget the sound. If you can afford it, clip a wireless mic onto whoever is speaking, and at the same time, capture the sounds of everything that’s happening in the scene with the mic that’s on your camera. You can mix the sounds together later, and it makes a huge difference.
Tip 6: Don’t move too much. Before you reach for that zoom control, think about why you’re doing it. Do you really need to get a closer look at your subject? Or are you just playing around with that zoom because you can? Careful—your constant zooming in and out could get you accused of “tromboning.” If you can’t think of a really good reason to zoom or pan, don’t. Keep in mind, directors such as Spielberg and Hitchcock have shot entire feature films without zooming one single time. If you must pan (moving from side-to-side; moving up or down is called a “tilt”), move slower than your instincts tell you to. Almost every beginner video has a pan that is so fast that it elicits laughter among the initiated.
Tip 7: Give them some headroom. Don’t cut off your subjects’ heads when framing them in your viewfinder (well, unless you’re shooting really tight). But don’t give them too much headroom, either, or you’ll end up with your subject appearing to be sitting in a hole with tons of space over his or her head. A telltale sign of a pro shooter’s work is the amount of headroom allowed.
Tip 8: Don’t shoot a puppet show. If you’re shooting an interview, only use a two-shot from the front sparingly. Concentrate on people’s faces, shot from as close to head-on as you can get. A shot of two people talking to each other, shot in profile, doesn’t resonate emotionally. We want faces. If it’s an interview situation, tell the interview subject not to look at the camera, but to look at the interviewer. Then position your camera almost behind the interviewer so you can see as much of the interviewee’s face as possible. After the interview’s over, you can get the interviewer to re-ask the questions, and then you can fake it later, joining questions and answers together when you edit.
Tip 9: Shoot more than you think you’ll need. The pros call this “coverage,” where you’re providing a variety of angles that can be used when you edit. For some reason, most people don’t feel like they need as much footage when they’re shooting as they actually end up needing when they’re editing. When you’re shooting a flower, for instance, stay on that shot about five seconds longer than you think you’ll need. That way, you’ll have more options in the edit session. Allow yourself as many options as you have time to shoot. As my wise grandma used to say, “Better to have it and not need it than need it and not have it.”
Tip 10: Shoot for the edit. If you’re creating a video that’s more than just one shot, think about how you’ll edit while you’re shooting. For instance, if your subject is talking about swimming, make the effort to get some shots (called “b-roll”) of people swimming, or better yet, the subject swimming. And keep Tip 9 in mind for this one, too: Shoot a lot. Every edit session we’ve ever done over 30 years of broadcast experience has moments of serendipity, where we think of something we hadn’t planned. And that’s usually the best part of the final product. Allow for these insights. Give yourself options.
Bonus tip: Never shoot video in the vertical format. Televisions are not vertical. Rotate that smartphone to a horizontal position before you begin shooting.
Image: Joann Kamay. Find more expert tips like this on Bloggers Boot Camp by Charlie White and John Biggs.