
If you’re a blogger, you also must be a photographer. Where to start? I’ve been taking pictures for 50 years, and I’m here to help.
In this post, I’ll show you 20 examples of product photography I’ve taken over the past year for the blog you’re reading now and on my previous job as senior editor of Mashable. I’ll tell you why I made the choices I did, and why I think these pictures work within the context of a personal blog.
When you’re reviewing a product, it’s important to publish your own photos instead of press pics, because your own pictures prove you actually possessed the product you’re writing about. Whenever possible, I try to hold the product in my hand, or show it in a setting where the readers might imagine themselves using the product.
While many bloggers try to get away with using smartphones to take pictures — and sometimes the phone cameras work fairly well, especially when there’s no other camera available — I think even the best smartphone camera is severely limiting.
Do yourself a favor and get a DSLR with a good lens or two. A good starting point is a camera like a Canon EOS Rebel T3i ($450) or a Nikon D3200 ($500), both of which bring you an imaging chip that’s much larger than the smaller imager on a smartphone or point-and-shoot camera. A DSLR chip’s larger surface area offers better low-light performance, crucial to my preferred style of product photography that almost exclusively relies on natural light.
First, let me tell you about the equipment I use. For the pictures you’ll see below, I used a Nikon D300 digital SLR (DSLR), along with a Nikon 50mm f/1.4 and a Nikon 18-200mm zoom lens with a maximum aperture of f/3.5-5.6.
Both of these lenses can do a great job of blurring the background to draw the eye’s attention to the foreground subject. This blurring in the background is called bokeh (pronounced “boKAY”), and it’s one of the keys to creating striking photos.
Of the variety of automatic modes on my DSLR, I use aperture-priority the most, letting me pick the aperture setting while the shutter speed is chosen automatically. This gives me the ability to quickly adjust the depth of field of an image, opening the aperture wider for shots where I’d like the background to go into soft focus.
For image editing, I use Adobe Photoshop CC. It’s almost a miracle worker, taking many of my awful photographs and turning them into something presentable. For instance, Photoshop’s Smart Sharpen filter can fix a variety of ills when used judiciously. Its Content-Aware Fill lets you select an area, hit the Delete button, and make that area magically disappear. And the new CC version of Photoshop has an excellent lens blur reduction filter that cures a variety of shakycam ills. At $9.95 per month (until Dec. 31, $19.95 after that), it’s a bargain. In my opinion, if you aspire to professional photography, Photoshop CC is your only choice.
What about lighting? Unless you have access to elaborate lighting including flash units, scrims and umbrellas, you’re better off shooting in natural light in a room with plenty of windows and colorful objects in the background. I have an eastern-facing room with large windows on one side that I like to use for most of my product shots, which you’ll see in the examples below.
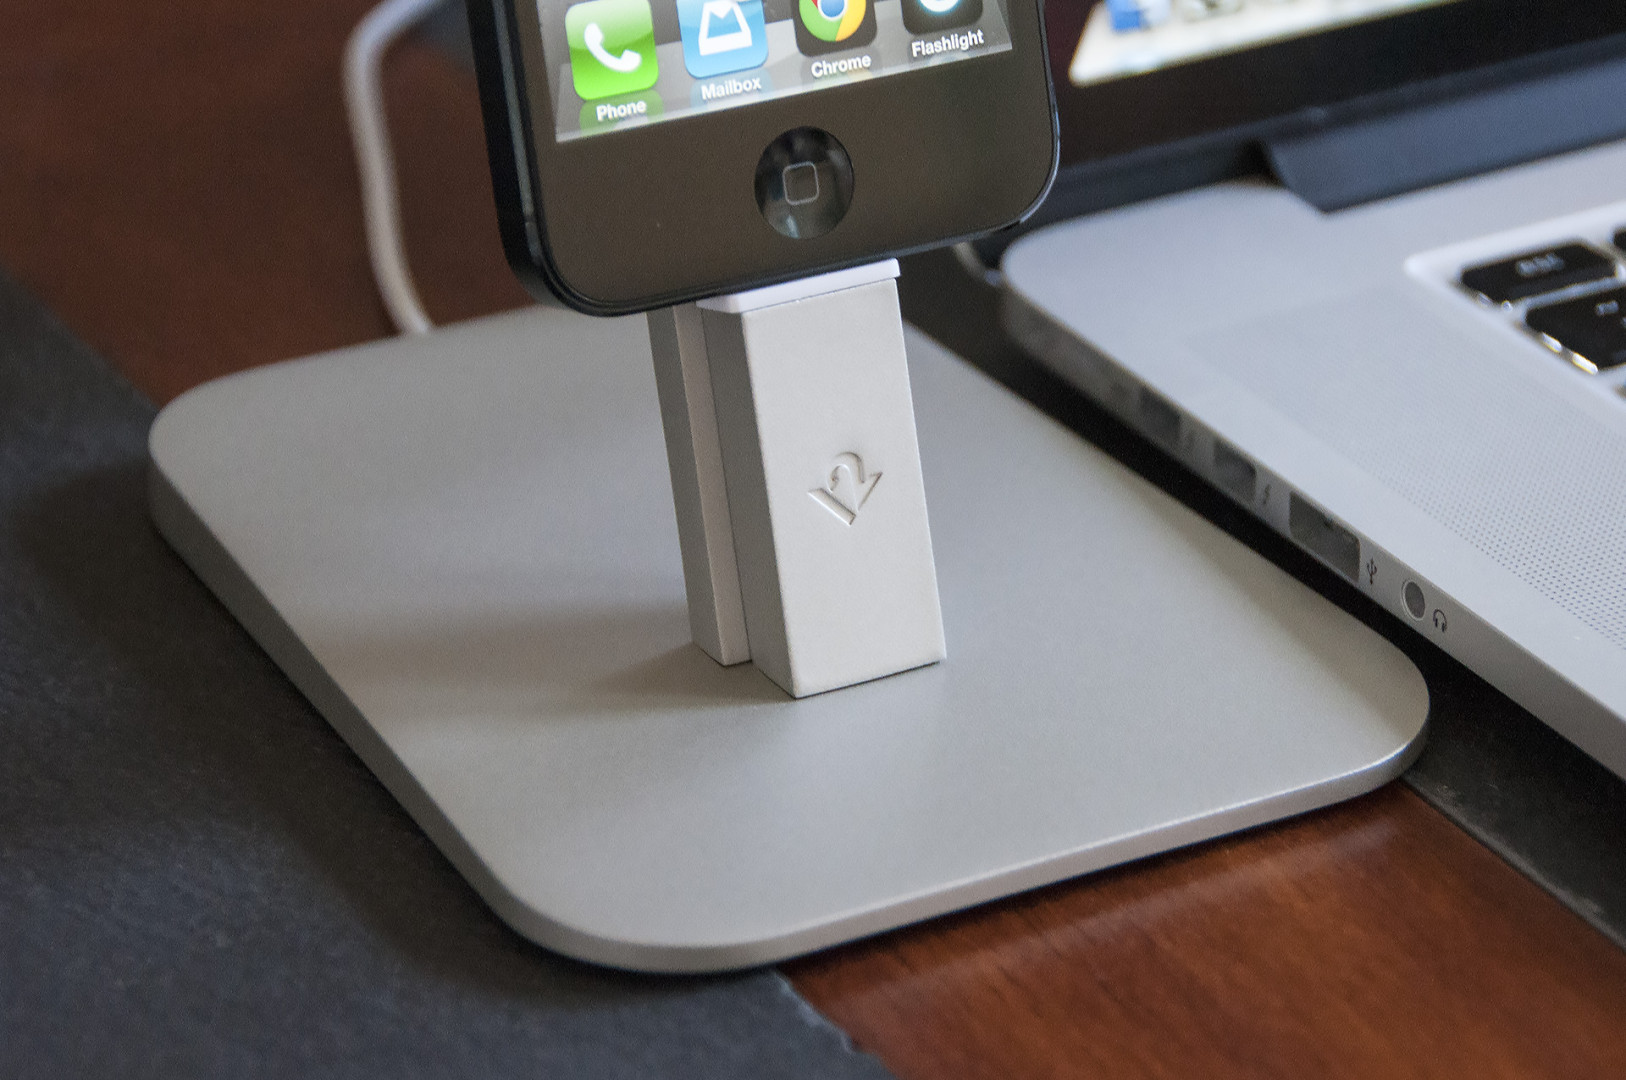
Here’s an example of the soft and indirect lighting that streams into the room where I take many of my pictures. Here, I wanted to show this iPhone stand in a context where it’s most likely to be used. The photo has a bit of added depth because of the narrow depth of field I achieved with a large aperture of F/3.5.
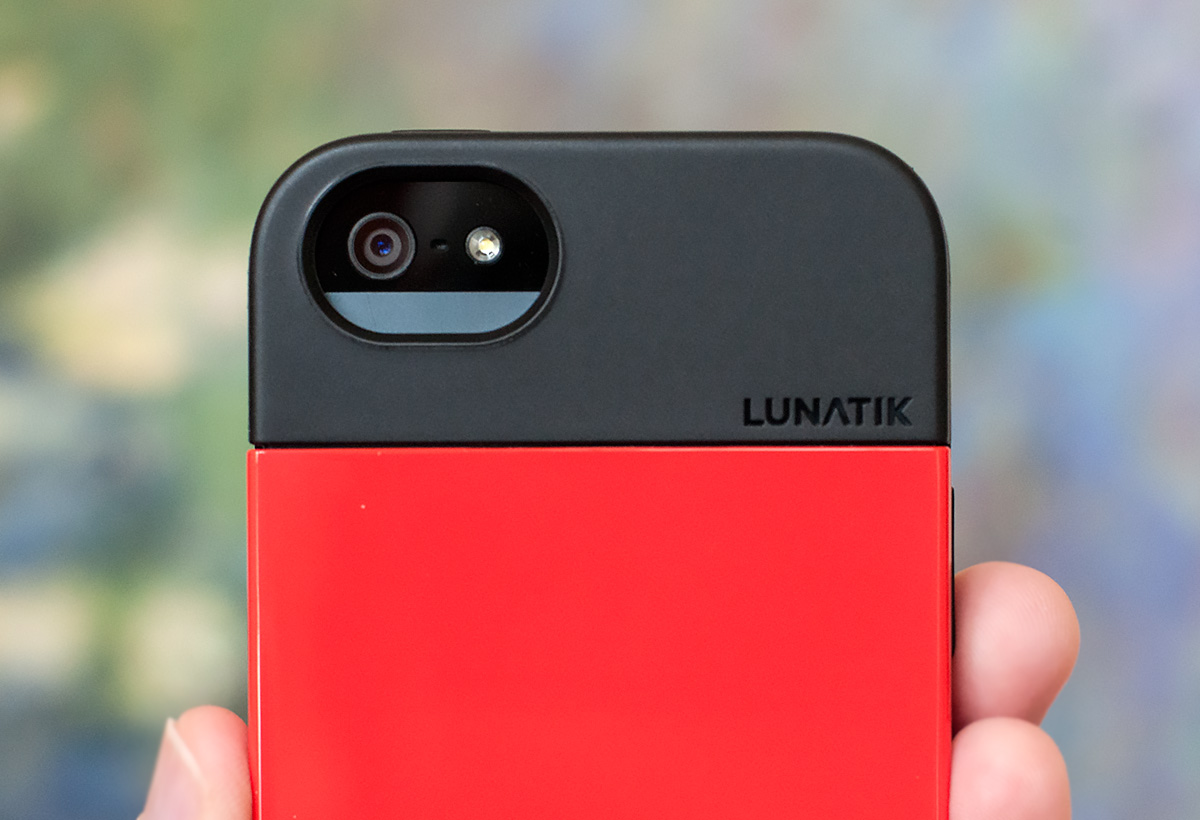
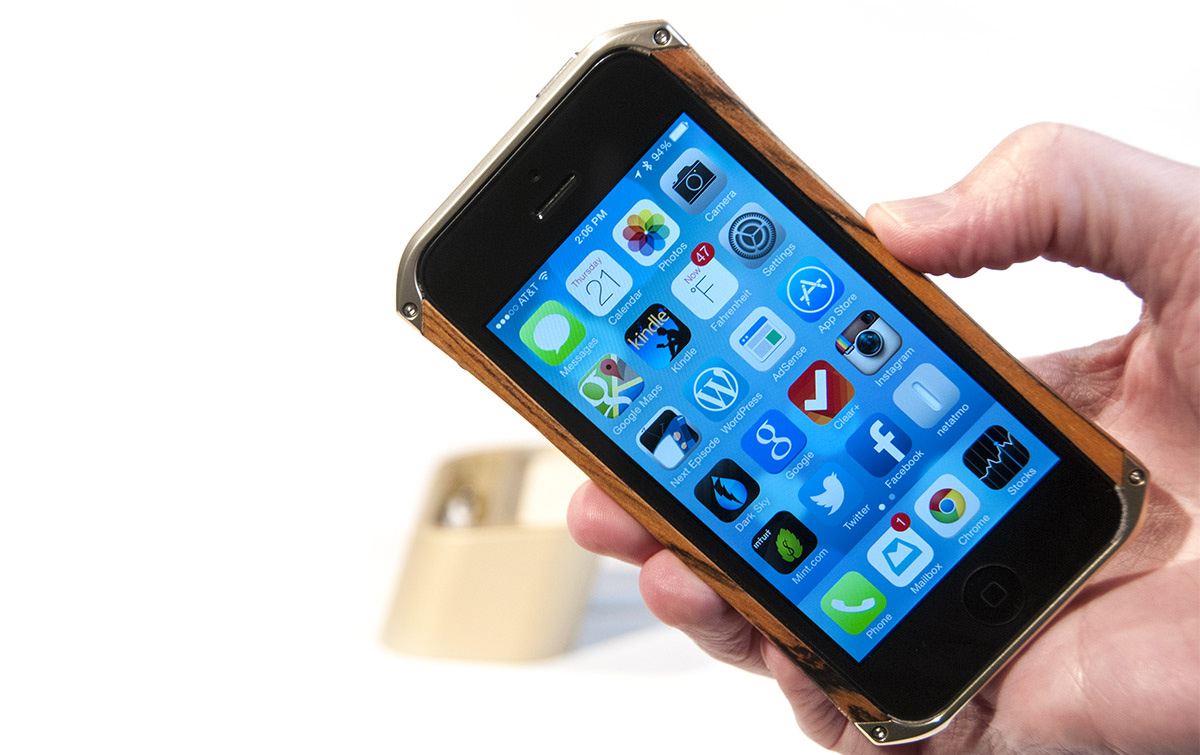
These two shots show you how a sharp foreground object stands out when the background is blurred. I used a wide-open f/1.4 on this iPhone case, which I held in front of a Monet poster hanging on the wall. On a side note, on shots like these, clean and manicured nails are a must.
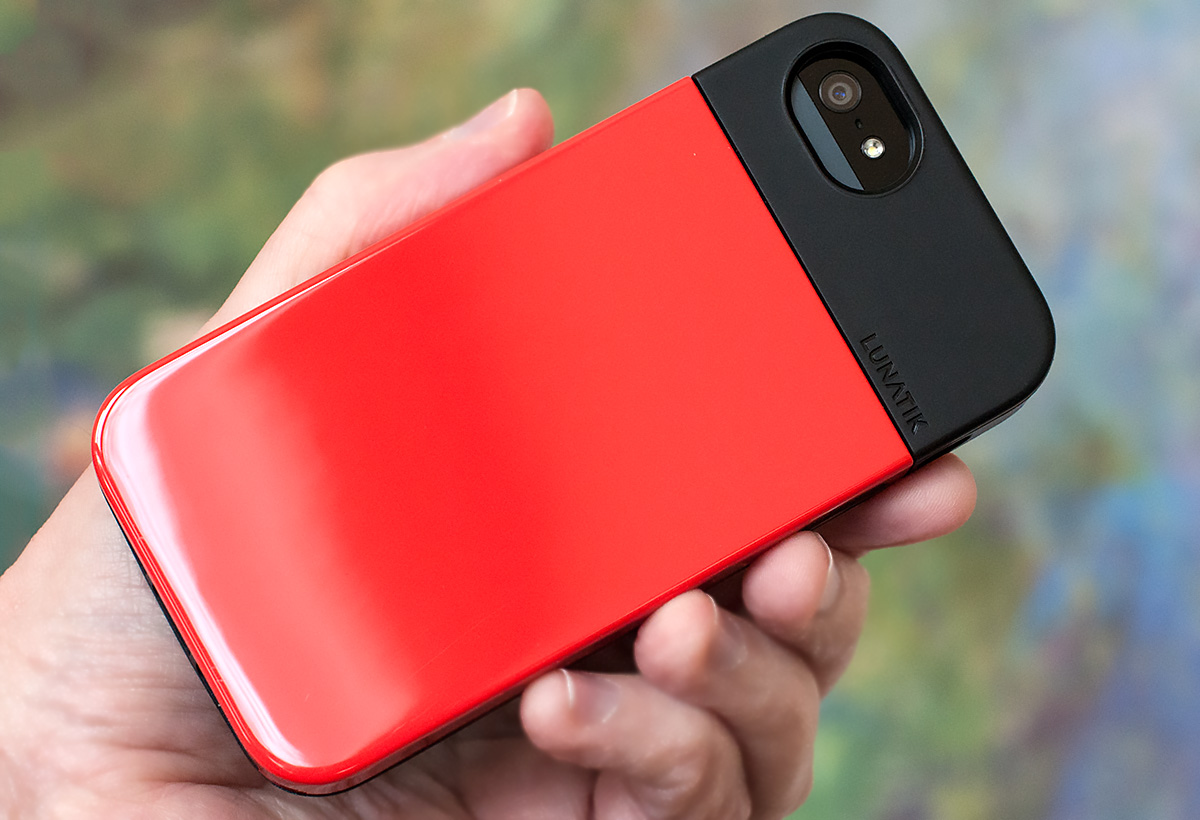
In the second shot, I’m holding the case in front of the same background, but this time I carefully tilted it to catch the reflection from the windows. That bright spot adds extra dimension and makes it jump out at you.
I edited both of these pictures in Photoshop CC to enhance their contrast and add a slight amount of vibrance. Even though the case is an extraordinarily bright red color, I might have overdone it. But in this case — and with all photos I take — I had total control of the image because I shoot all of them in the RAW image format, letting me manipulate all of the parameters of the image.
2013 Audi S6
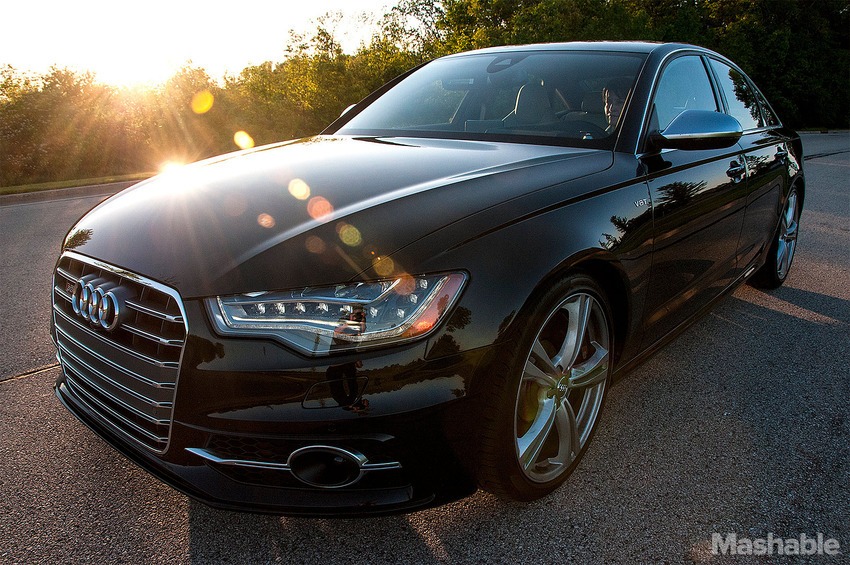
Whenever I shoot cars, I wait for the “golden hour,” that magic time that’s either one hour after the sun rises or an hour before it sets. This kind of lens flare adds interest and color to the shot, and using Photoshop to add a touch of Clarity (either when importing with Photoshop’s Camera Raw application or using the new Camera Raw filter in Photoshop CC) makes the image pop.
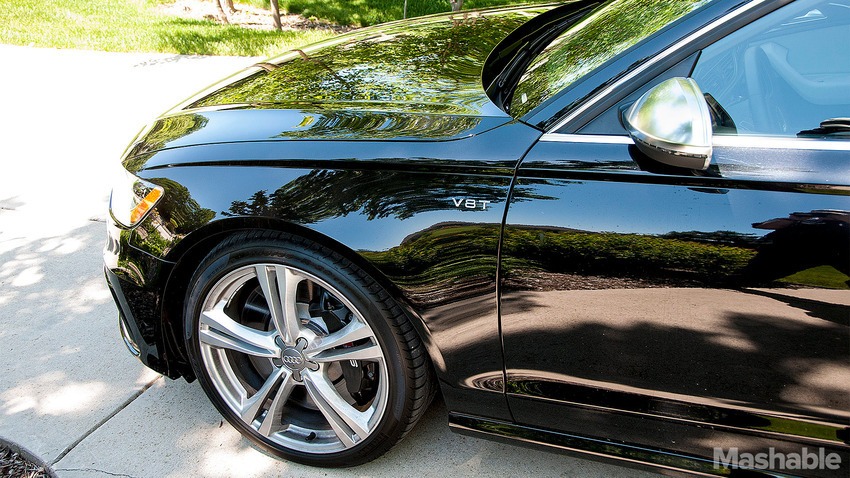
The second shot of the Audi S6 was taken around the same time of day, and demonstrates how you can play with reflections. On a black shiny surface, the image looks even sharper when there are intricate reflections. Notice your humble narrator showing through in the reflection on the right.
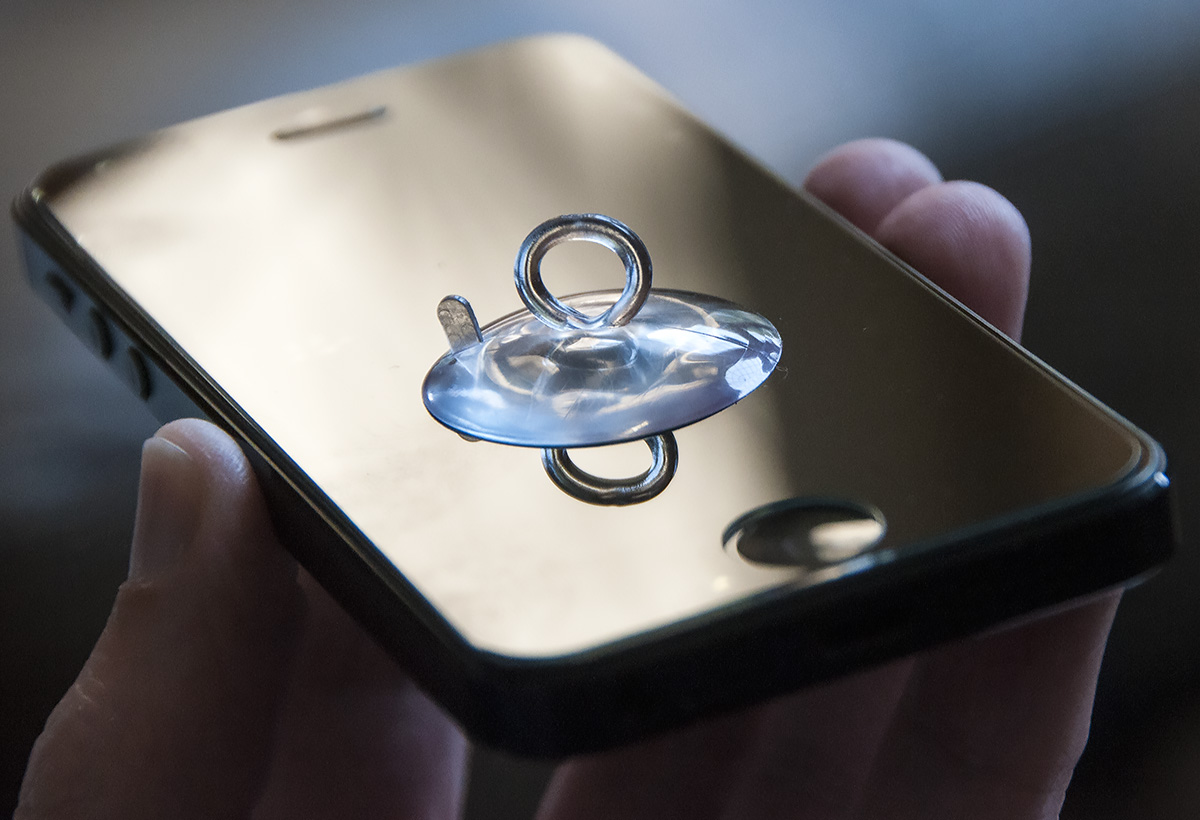
I was playing with reflections in this photo as well. I wanted to illustrate the suction cup that makes it easier to install the glass screen protector I was writing about. For this shot, I held the iPhone at a precise angle that maximized the reflection, drawing attention to the suction cup.

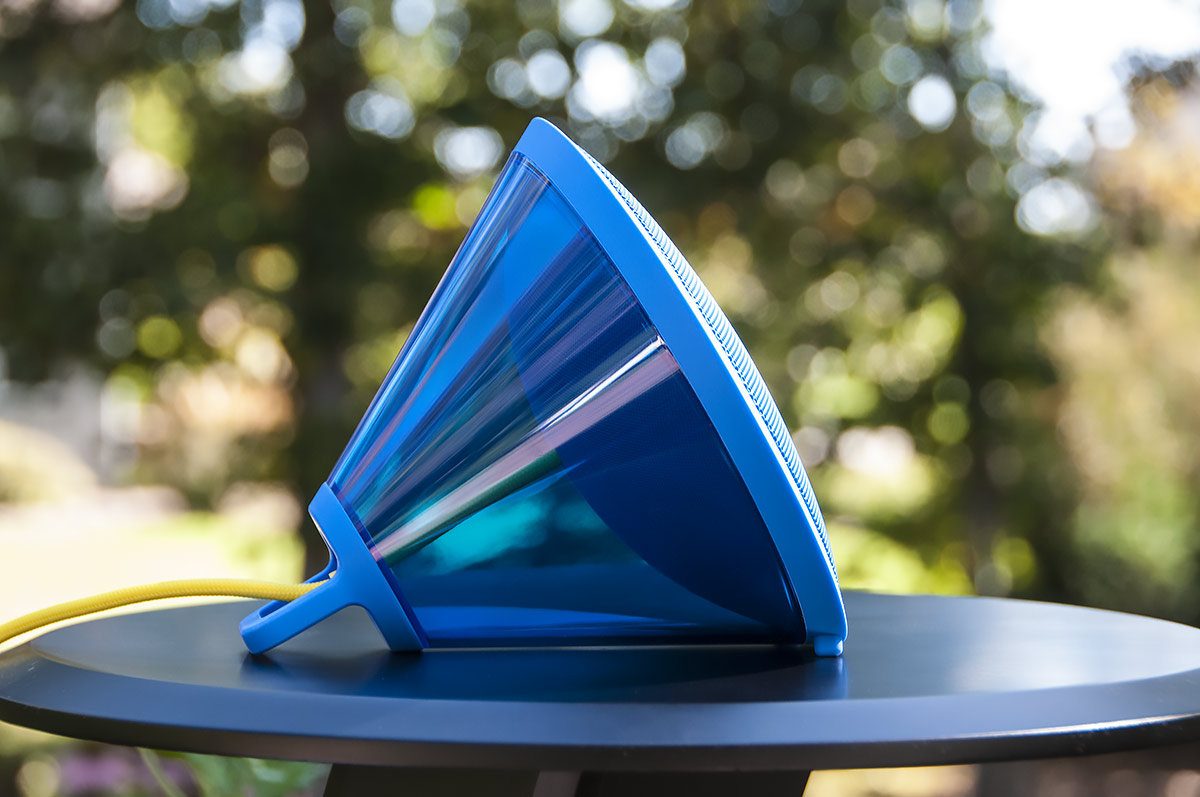
Here’s why it’s a treat to shoot outside whenever possible. I used the widest possible aperture as I shot this JBL speaker. I situated it precisely in front of this background by using a black table I keep on hand, placing that table on top of another picnic table in the backyard to get these two shots. Notice the light, turning golden toward the end of the day and adding extra glamour to these pictures.
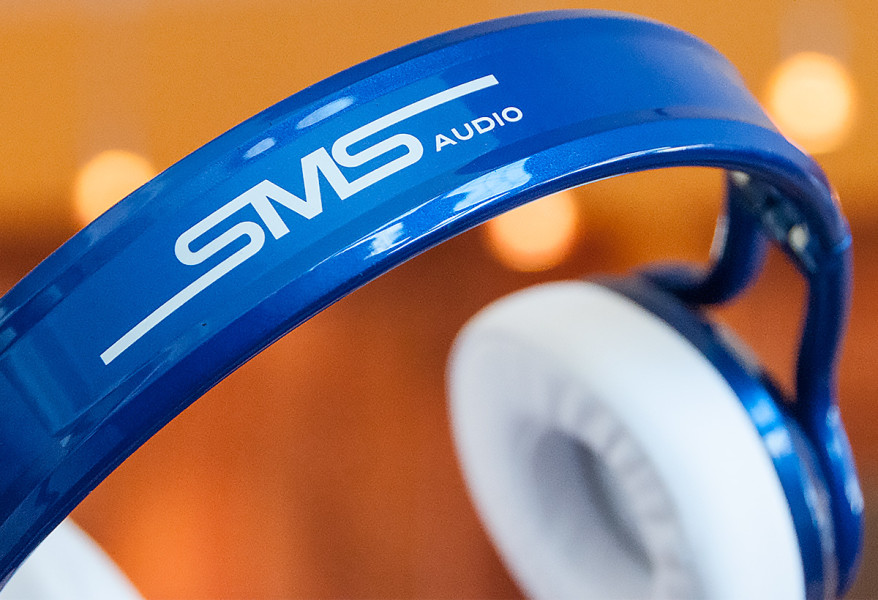
I like this background so much, I have trouble not using it all the time. In my kitchen there are six track lights with small yellow shades, and they make the picture look warm and fuzzy in the background as the logo of these headphones takes center stage.

In this second shot, there’s a different background — a painting done by my wife — that gives an abstract and soft look to the photo. As you’ve probably already noticed, the background of whatever you’re shooting is almost as important as the foreground, and sometimes more so. As I learned in my 30-year career in television, a great-looking background is crucial for the atmosphere of a shot.
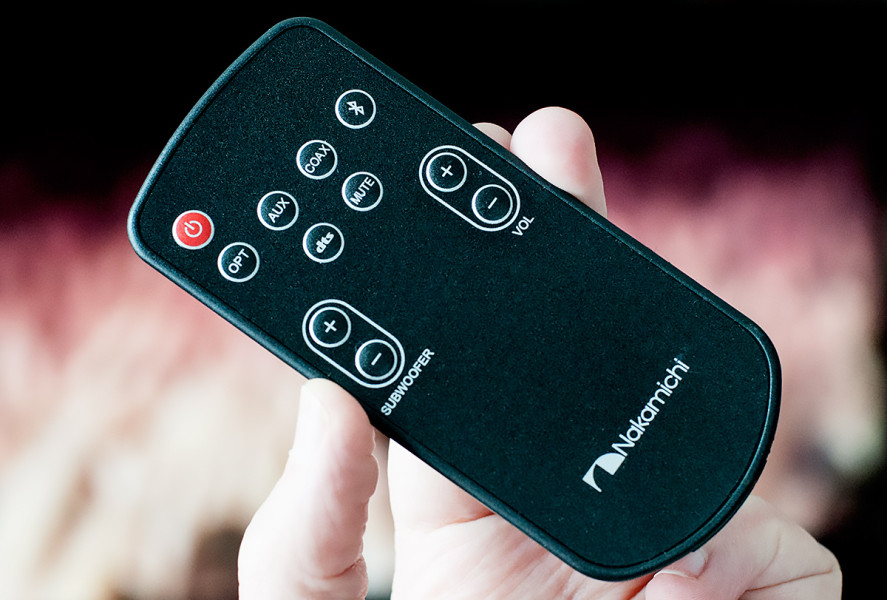
When shooting this remote control for a Nakamichi home theater sound bar system, I used natural light and a television as the background. I had to use Photoshop to apply lots of lens-blur reduction to this shot, which wasn’t nearly sharp enough for my taste. In many cases, I’m only as good as the software I use.
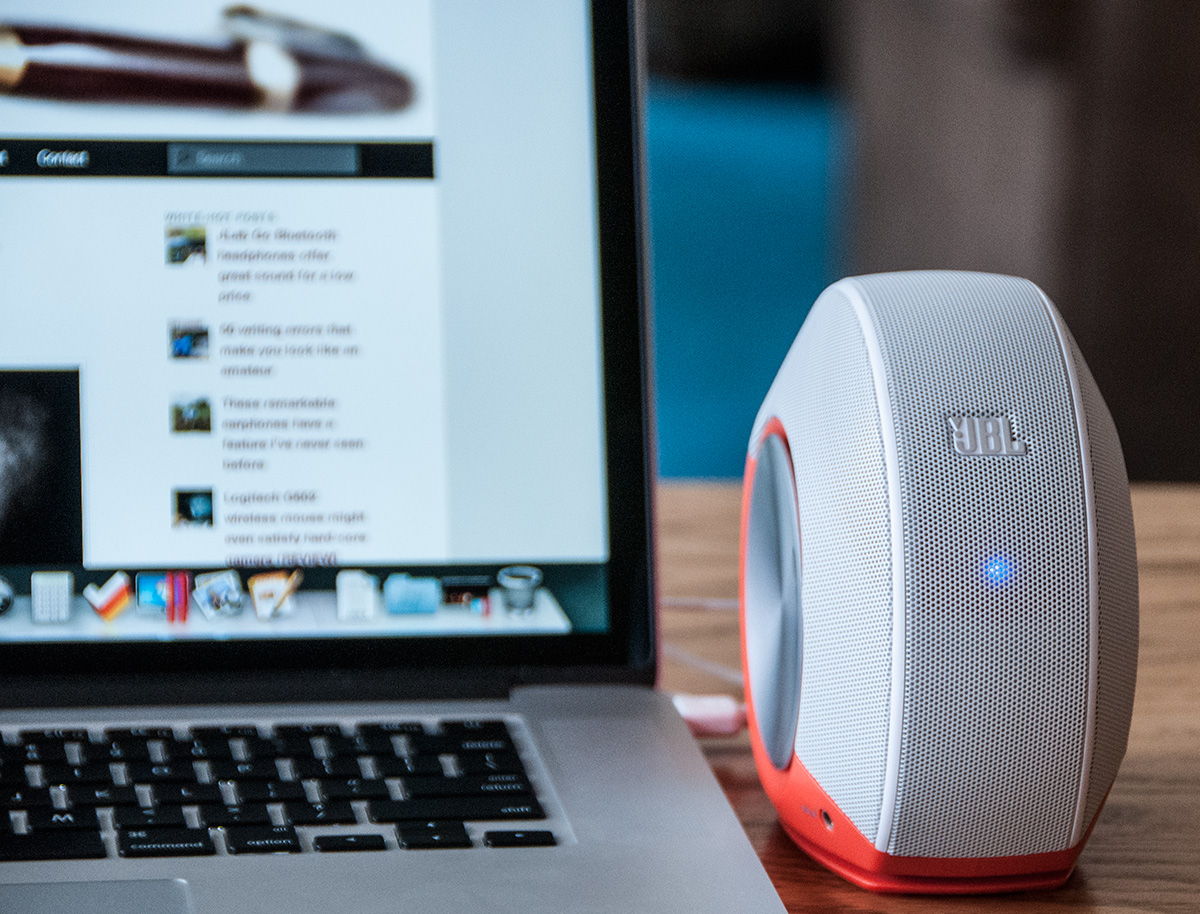
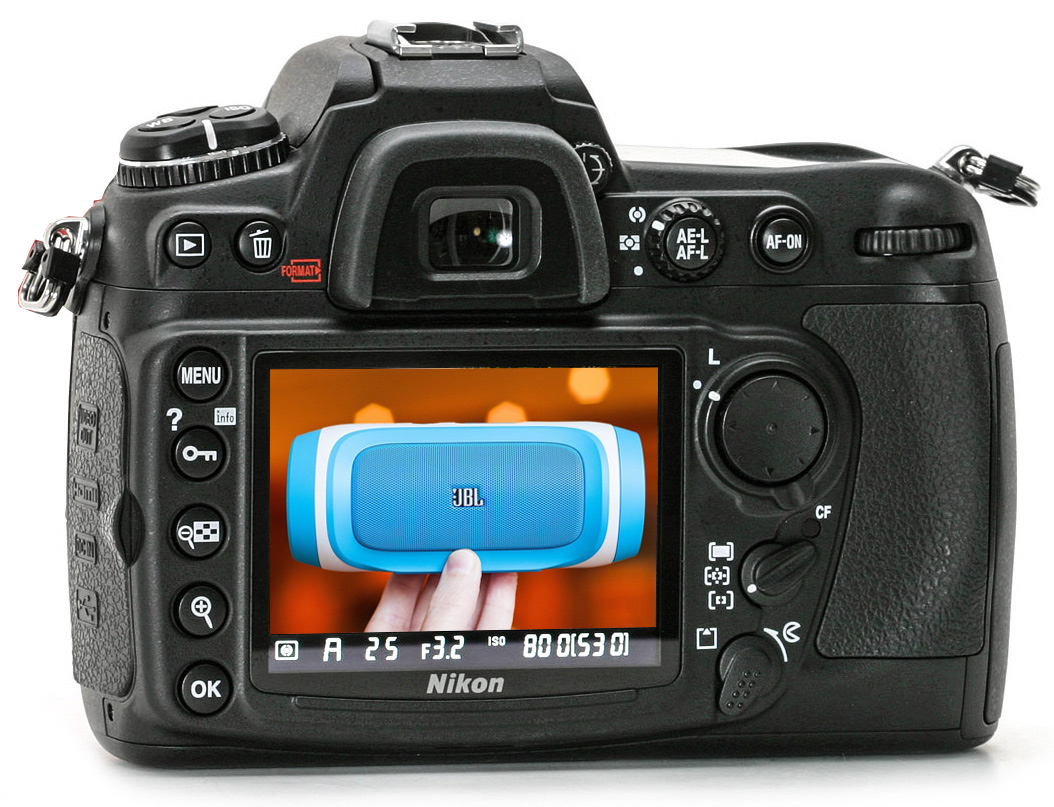
This was a tough shot to get, because I wanted to show that blue light inside this JBL speaker while drawing the eye away from the computer screen on the left. An extremely wide aperture made it possible to focus on the speaker while blurring out the rest of the photo. A bit of extra blurring in Photoshop added to the overall effect.
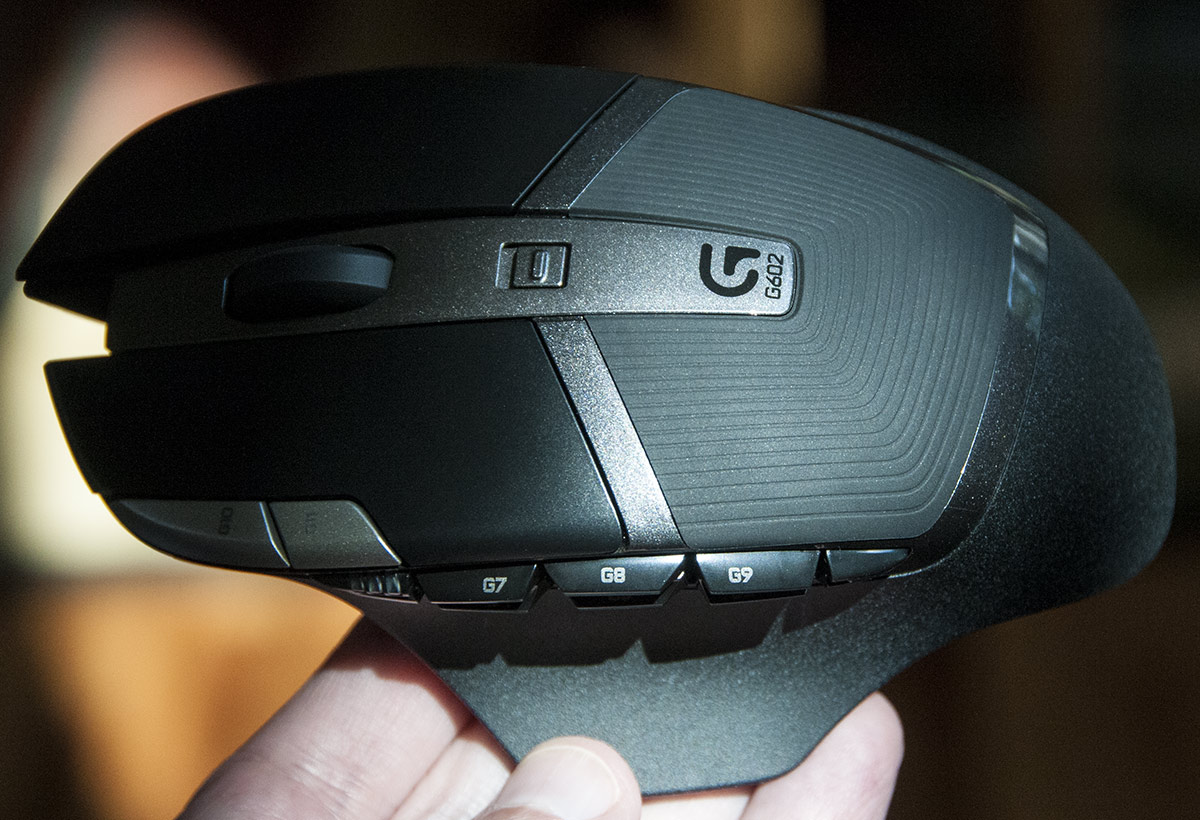
I was playing with light for this pic. It’s a simple matter of holding the object in just the right place, where a beam of light shone on one part of the mouse, while the left half the picture had a bright background. Other pictures in the series showed more details of the mouse, but this slightly arty shot was the one I used to draw readers in. In almost every circumstance, light is everything.
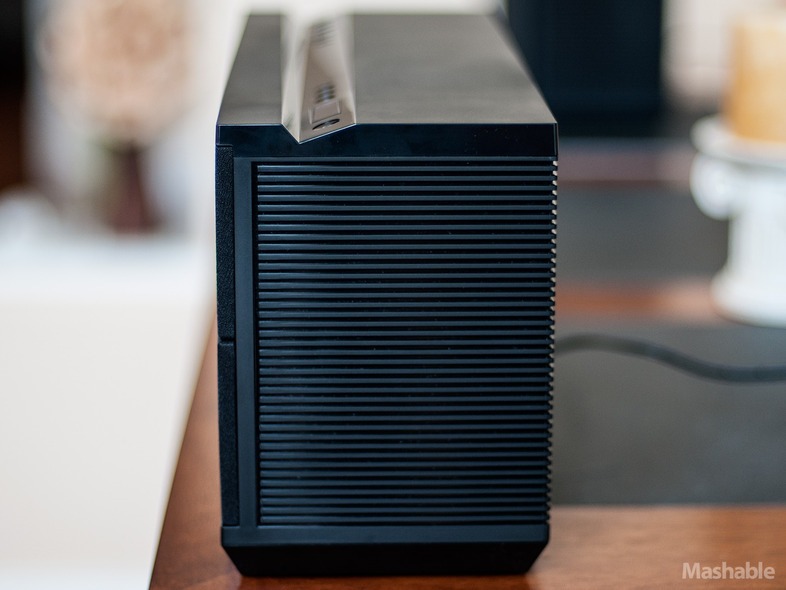
In this picture I wanted to show the detail of the side of this Bluetooth speaker, and throwing the rest of the picture out of focus makes it seem to almost hang in the foreground. As you can see, there’s an extremely shallow depth of field, which was achieved with an F/1.4 aperture, giving the picture an almost dreamy quality.
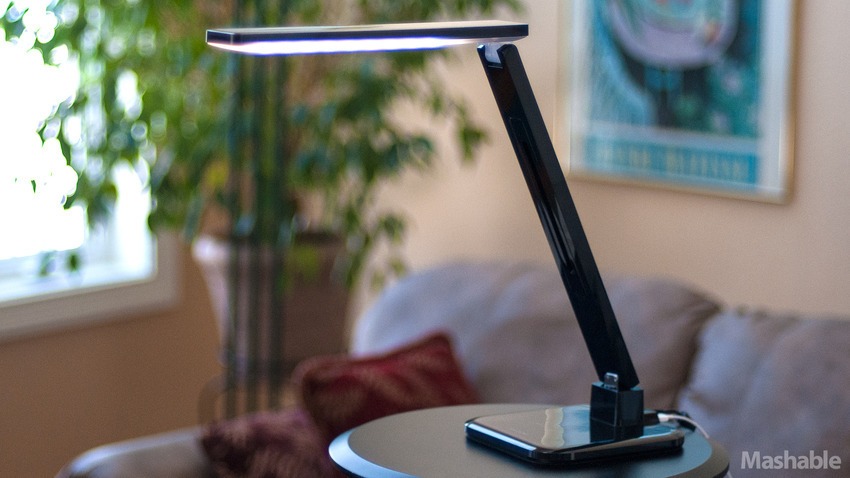
Here I brought out that black table again, trying to show this LED lamp in context. Shallow depth of field comes into play again with this shot, making the lamp stand out against its living-room background.
TrackR Bluetooth tracking device

That Monet poster makes another appearance in the background in this picture, where I held the wallet at just the right angle to get a subtle amount of reflection on this difficult-to-shoot shiny black object. Placing it in that wallet gave it context, suggesting a good way to use the product.
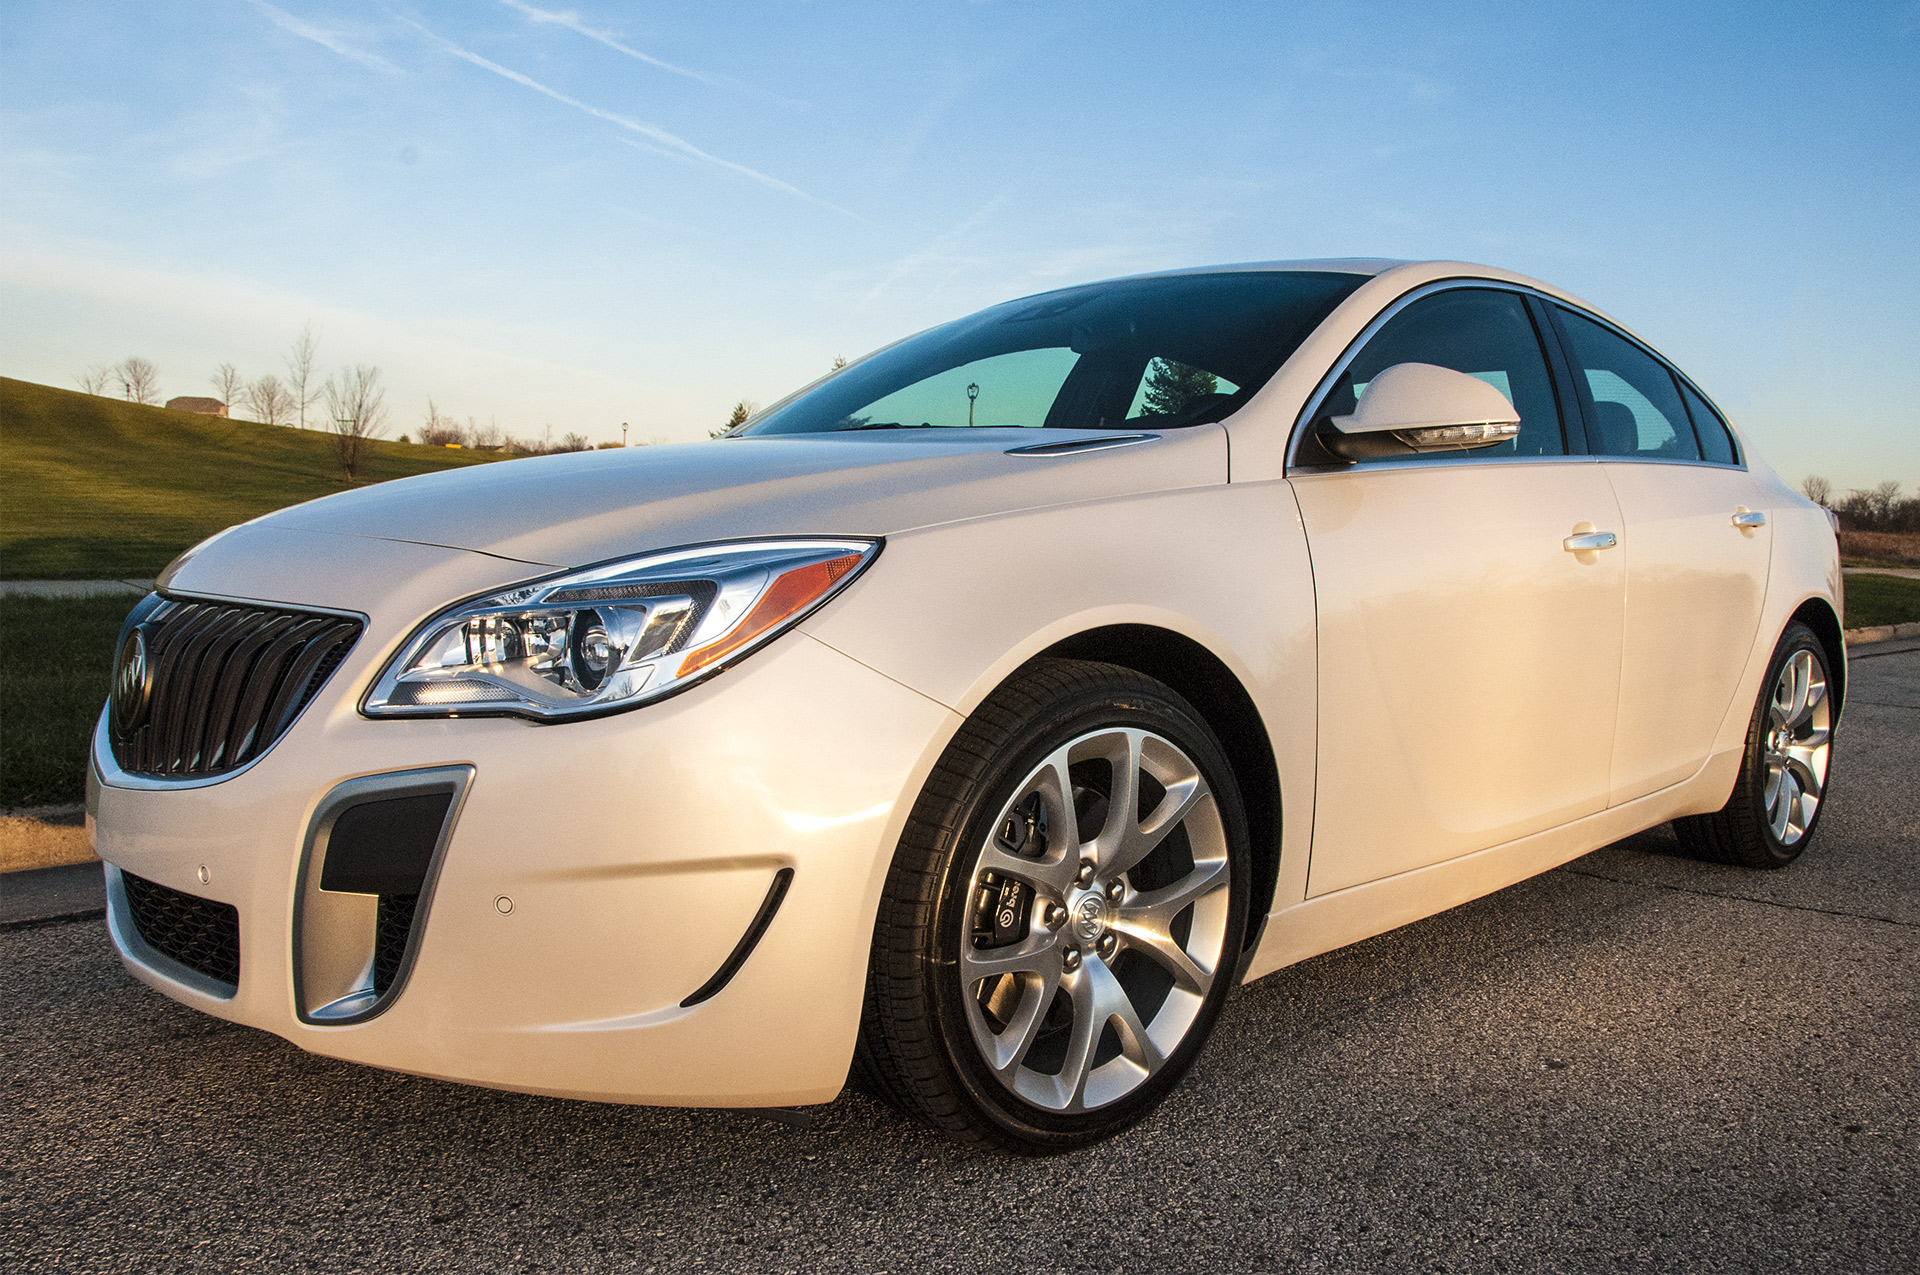
2014 Buick Regal
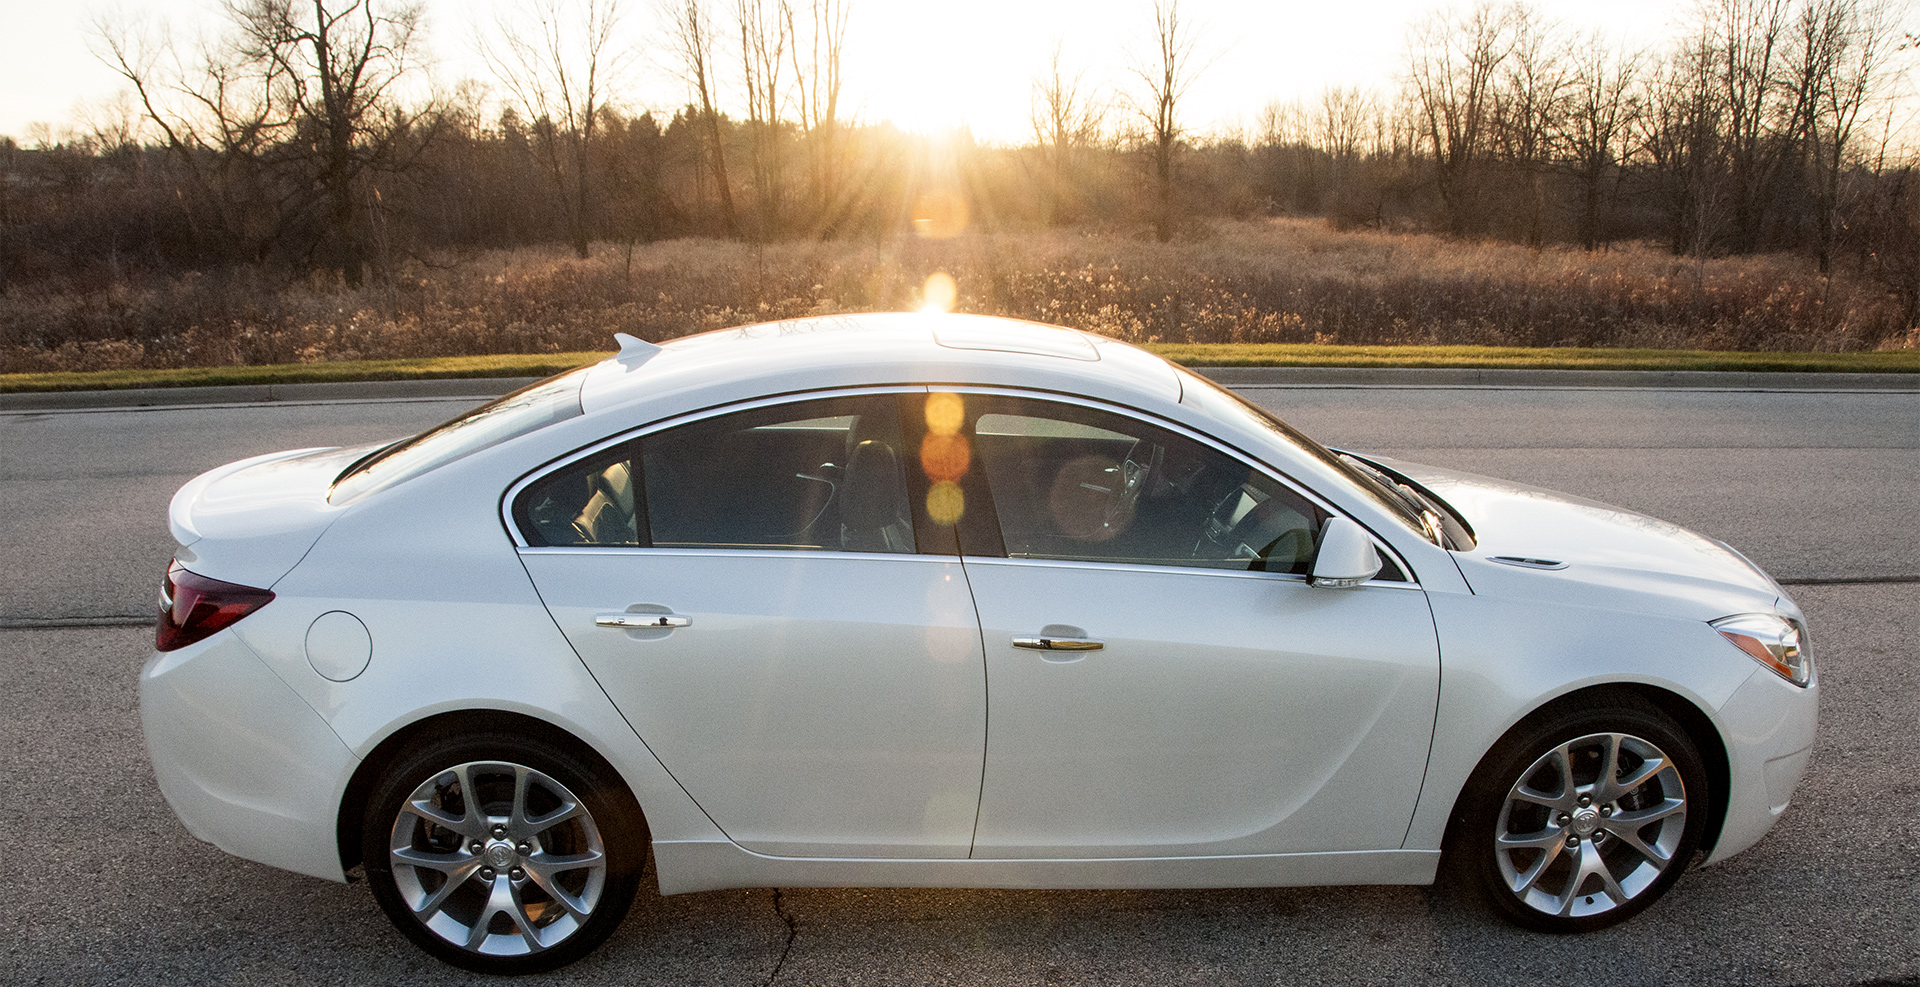
It’s golden hour again, and I can’t resist playing up that lens flare. It’s hard to take a bad picture with lighting like this.
In the second example, I moved the car to a spot where the sun hit it in just a couple of places, making the reflection of its light bounce down to the street below. The car almost seems to glow.
When shooting this fancy iPhone case, I broke from my usual routine and used my sweep table and six different lights. Sometimes a clean white background can enhance luxury items and shiny baubles. In this pic, you can see the encased iPhone in the foreground and its matching stand in the background.

Notice how this speaker stands out against that warm background, where the orange and yellow hues make the speaker’s sky-blue color practically pop out of the frame.
Images: Charlie White
Really solid tips, Charlie! I shared this with our team.
Thank you for your kind words, Zack! If you or your team have questions about this photography or anything else, please feel free to ask here in the comments or send me an email via this contact form: https://charliewhite.net/contact/